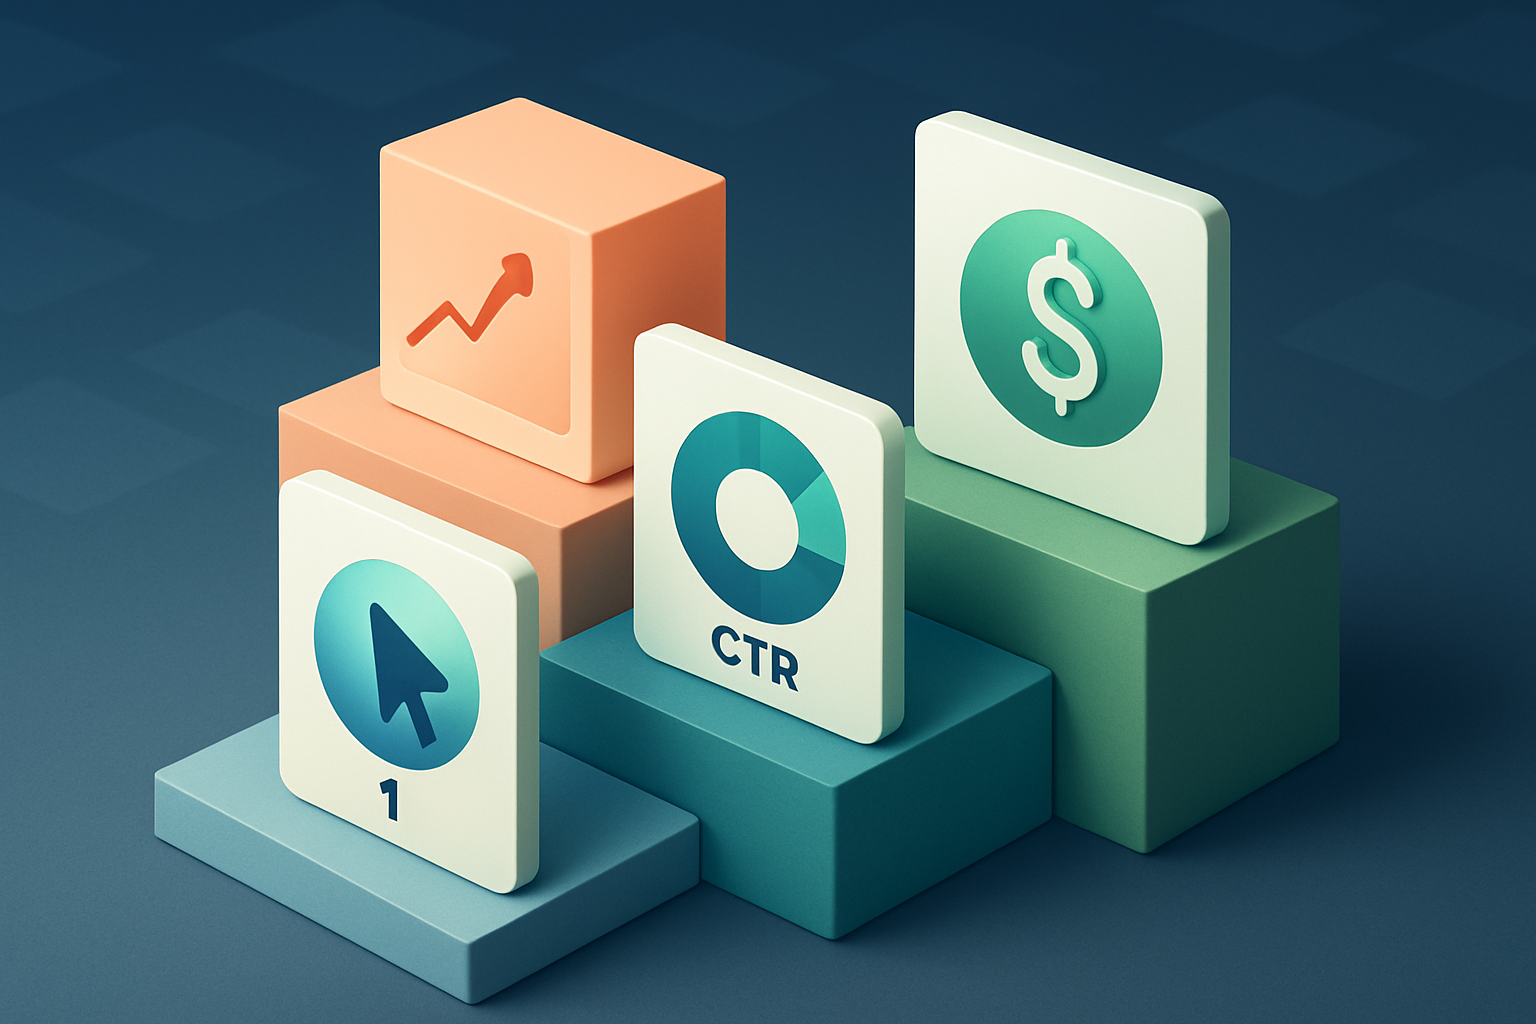
You’re measuring the wrong thing: traffic chasers, not buyers
If your idea of a “great blog” is a viral post with a million pageviews and a pile of likes, you’re cheering for the wrong team. Pageviews and social likes are vanity metrics — they tell you who showed up for the snacks, not who walked to the register. Instead track the numbers that matter: revenue per visitor (total ecommerce revenue ÷ users), assisted conversions (how many purchases had the blog touch earlier in the buyer path), and AOV uplift (compare average order value for sessions that came via blog links vs baseline). Those three tell you whether the blog actually moves money, not just eyeballs. ⏱️ 14-min read
Quick setup tips: in GA4, enable Enhanced Ecommerce, make sure purchases are marked as a Conversion, then create a segment or event for blog-driven sessions (match landing_page or utm_source=blog). Use GA4 Explore > Funnel or Path analysis to see blog-to-checkout journeys and the “Assisted Conversions” in the Attribution reports. In Shopify Admin, export Orders (Orders CSV includes a landing_site field that captures UTM/landing URL) or filter orders by campaign/marketing tags to calculate revenue per visitor and AOV uplift. For tracking hygiene, tag every blog link with UTMs like ?utm_source=blog&utm_medium=organic&utm_campaign=post_slug&utm_content=cta_name, push GA4 via Google Tag Manager or the Shopify Google channel, and test in GA4 real‑time. Do this and you’ll stop funding clicks and start saving money (yes, you can actually save $2,000 in ads by proving your blog converts).
No keyword intent map = content that doesn’t convert
Map intent like a matchmaker, not a dart thrower. If you don’t tag each keyword as informational, commercial, or transactional, your posts will either teach nobody or sell to nobody. Informational posts should answer a clear question and nudge gently (think “how‑to” guides with a soft CTA). Commercial posts compare and recommend (use “best,” “review,” “vs.”). Transactional posts are built to convert—clear benefits, price, shipping, and a strong “buy” CTA. Treat the map as your content GPS: keyword → intent → post type → CTA.
Examples you can steal. Informational: keyword “how to size for women’s vegan leather jacket” → headline: “How to Size Women’s Vegan Leather Jackets (Fit Guide + Care Tips)” and meta: “Step‑by‑step sizing plus 3 jackets we recommend.” Commercial: keyword “best vegan leather jackets for winter under $150” → headline: “Best Vegan Leather Jackets for Winter (Under $150) — Tested & Ranked” and meta: “Pros, cons, and the top pick for cold climates.” Transactional: keyword “buy vegan leather jacket free returns” → headline: “Buy Vegan Leather Jackets — Free Returns & Fast Shipping” and meta: “Shop now + use code SAVE10 at checkout.” Use long‑tail modifiers like “for [use case]”, “under $[price]”, or “[year]” to match intent and raise conversion odds.
Ship it with trust and tools. For YMYL or high‑value buys, follow E‑E‑A‑T: show author credentials, cite studies or product specs, and include reviews and return policy details. Keep URLs and meta descriptions aligned with intent. Operational tip: build a keyword‑intent spreadsheet and feed intent‑labelled drafts into your Auto Blog Writer/Poster/Scheduler/SEO workflow (yes, automation helps—think “wordpress blog autopilot” but for Shopify). Do that and you’ll stop paying for clicks when your blog starts nudging real buyers—kind of like turning content into a part‑time sales rep (without the coffee breaks).
Weak CTAs and shoddy product integration
Make posts actually shoppable. Don’t make readers hunt for the product like it’s Narnia. Use Shopify’s product blocks or a featured-collection section in your blog template so each post can show a live product card with price, image, and stock. If you need data tied to an article (size guides, variant IDs, promo tags), stash it in Shopify metafields and surface it in the blog template—no copy/paste, no human error. For one-click adds, link directly to the cart with the variant ID (example pattern: /cart/add?id=1234567890&quantity=1) and append a promo code with ?discount=SUMMER20. Layer on Shopify’s product recommendations or an app-driven recommendations widget to give context and social proof right beneath the post.
Make CTAs targeted, not passive-aggressive. Try inline CTAs after the first benefit, a sticky CTA that follows as they scroll, and a final end‑of‑post CTA—each with different copy. A/B test specifics: “Add to Cart” vs “Grab Yours” vs “Try It Risk-Free”; button color (high contrast vs brand color); placement (inline vs sticky vs sidebar); and promo framing (percentage off vs dollar-off vs freebies). Track click-through rate, add-to-cart rate, and post-click conversion. Small wins here compound fast—more buys from organic posts means less money blown on ads (hello, Save $2000 in ads with Shopify blogs idea).
Experiment, measure, repeat. Run tests for at least a couple weeks or until you’ve got a few hundred CTA impressions per variant. Use Shopify Analytics plus your A/B tool (Optimizely, VWO, or whatever your setup is) to compare lifts. Don’t forget E‑E‑A‑T: include clear product facts, reviews, and buyer protections when you’re giving shopping advice—YMYL signals want confidence, not mystery. Think of blog-to-checkout like a rom-com montage: set the mood, give the obvious next move, and make the “I do” button impossible to miss.
Content quality flops: E‑E‑A‑T and YMYL mistakes you can’t ignore
If your Shopify posts go live with no author bio, zero sources, and claims that sound like late‑night infomercials, you’re tripping over basic E‑E‑A‑T (Experience, Expertise, Authoritativeness, Trustworthiness). That’s especially dangerous for YMYL pages — think health, finance, or anything that can actually affect someone’s life or wallet. Automated setups (yes, even that tempting "WordPress blog autopilot") can publish anonymous, sketchy content fast. Result: lower trust, lower conversions, and a real chance of getting ghosted by both users and Google. It’s like showing up to a job interview in your pajamas and asking for a raise.
- Expert quotes — grab a one‑line quote, full name and title; a quick Vox/MD/CPA blurb beats an anonymous opinion every time.
- Source citations — cite studies, official guidance, or reputable outlets with dates; inline citations + a short reference list is your credibility parachute.
- Author pages — photo, 2‑sentence bio, credentials, and links to other work; add Author schema so search engines know who’s behind the words.
- Disclosures & dates — declare affiliations, affiliate links, and last‑updated dates prominently for YMYL content.
- Tool hacks — use automation wisely: Trafficontent’s Auto Blog Writer, Auto Blog Poster, and Auto SEO can add author boxes, schedule reviews, and insert schema so your posts don’t look like they were written by a mysterious algorithm.
- YMYL safety net — for health/finance adjacent products get a clinician/CPA review and state it on the page; even a short “Reviewed by…” line raises trust fast.
Do these things and your blog will stop sounding like an infomercial and start acting like a trusted shop window — which is exactly how you begin to Save $2000 in ads with Shopify blogs by converting organic traffic instead of buying it. Think of it as putting a suit and diploma on your content before you send it out to mingle.
Automate badly and you’ll publish dumpster fire posts (WordPress autopilot & duplicate content)
Autoposting and spun content feel like a magic trick until Google pulls the tablecloth. WordPress autopilot that sprays identical or low‑value posts across multiple sites creates duplicate content, kills user trust, and can trigger SEO penalties — especially on YMYL pages where E‑E‑A‑T matters most. In plain English: robots can type, but readers and reviewers still care about accuracy, originality, and usefulness. Think less "publish everything" and more "publish anything that helps."
Follow a few simple rules to automate safely: use templates + human edit (auto draft with a mandatory human pass), apply canonical tags when syndicating or reposting, and run plagiarism and quality checks before publishing. Also set a minimum word/value threshold and flag YMYL topics for expert review. These steps stop spun, thin posts from clogging your site and protect E‑E‑A‑T signals.
Tools like Trafficontent’s Auto Blog Writer and Auto Blog Poster — paired with Auto Scheduler and Auto SEO — are great for speeding production, not for replacing editors. Use them to generate drafts, schedule cadence, and auto‑populate meta/canonical tags, then have a human finalize tone, facts, and links. Do that and your Shopify blog can actually convert readers instead of scaring them off — yep, it might even help you save $2,000 in ads if you follow a step‑by‑step content plan. Google’s Search Central literally calls out duplicate content as a risk, so automate smart, not sloppy.
Technical sins that kill conversions: speed, schema, and mobile UX
If your blog feels like molasses on a cold day, visitors bail and conversion numbers cry into their coffee. The usual technical sins are obvious once you look: slow Liquid templates, giant uncompressed images, missing Article/Product structured data, and CTAs buried off-screen on mobile. Fix those four and you’ll stop leaking traffic and start converting readers into shoppers — no snake oil, just elbow grease and a CDN.
- Slow Liquid templates: Heavy loops, too many sections, and third‑party app scripts will kill render time. Use Shopify’s render over include where possible, limit collection loops, remove unused sections, bundle/minify CSS/JS, and profile with Shopify Theme Inspector or Chrome Lighthouse. Defer noncritical scripts and cache snippet output where you can.
- Uncompressed images: Large files = slow pages. Serve responsive images with srcset and Shopify’s image URL params (width, format=webp), enable native lazy loading (loading="lazy"), and precompress with TinyPNG or ImageOptim before upload. If you want a commercial CDN, Shopify already serves images from a CDN; you can also proxy through Cloudinary or BunnyCDN for advanced transforms.
- Missing Article/Product schema: Search engines love structured data. Add JSON‑LD for Article (headline, author, datePublished, image, mainEntityOfPage) and Product (name, sku, offers with price/availability). Test with Google’s Rich Results Test and fix warnings. If you hate writing JSON‑LD, use a reputable Shopify app (search the App Store for "JSON‑LD" or "Schema").
- Poor mobile CTA placement: Tiny buttons and buried CTAs kill conversions on phones. Use a sticky footer CTA for buy/subscribe actions, increase tap targets to ~44px, remove intrusive interstitials, and reorder template blocks so key CTAs appear above the fold on mobile. Run Lighthouse mobile audits and click through on an actual phone.
Run Lighthouse and the Rich Results Test, fix the biggest wins first (images and lazy loading are usually fastest), then add structured data. Tools like Shopify Theme Inspector, TinyPNG, and Shopify App Store schema apps will speed things up. Do this work and you’ll stop burning ad dollars trying to force traffic to a leaky blog — think of it as plugging holes before you start bailing with a bigger bucket.
Bad internal linking and site structure: blog posts that lead nowhere
If your blog feels like a cul-de-sac—great content, nowhere to go—you’re leaking sales. Build a simple topic cluster: a shoppable pillar post (the hub) with 3–5 cluster posts (the spokes). Each spoke links back to the pillar and to the most relevant, high-converting collection or product page using clear anchor text (think “shop leakproof travel kit,” not “click here”). Don’t forget “next best action” links inside posts: related products, a short how‑to video with a “Shop this routine” card, or a one-click Buy Button from Shopify so readers can add items without a detour. It’s less breadcrumb, more guided tour to checkout.
Mini blueprint:
- Shoppable pillar post: quick problem hook → curated solutions → inline product cards (with price + Add to Cart/Buy Button) → how‑to video embed → FAQs + 1 anchor to the collection landing page. Use UTM tags for every product link.
- Collection landing page: strong benefit headline → shoppable gallery (shop the look) → social proof (3–5 reviews) → related guides section (links to cluster posts) → clear CTA block (“Shop the Complete Kit”).
- Cluster linking rules: every cluster post links to: pillar (primary), 1–2 best products/collections (secondary), and a related media asset (video or PDF) as a “next best action.” Keep links contextual and open in the same tab for less friction.
Track clicks and micro‑conversions with events (Shopify Analytics + GA4) and add Product schema so search engines get the shoppable signal. If you sell in a YMYL niche, show author creds and cite trusted sources to satisfy E‑E‑A‑T. Automate publishing and scheduling with tools like Trafficontent’s auto poster if you want to keep clusters fresh without babysitting—think “WordPress blog autopilot” for Shopify. Do this right and your blog will stop being a brochure and start paying the rent (or help you save $2000 in ads—yes, there’s a step‑by‑step guide if you want it).
Promote like a raccoon with no plan — distribution that wastes effort (and ads)
Stop scattering content like confetti—turn your blog into owned revenue. Use segmented Klaviyo drips tied to reading behaviour: a 3‑email "Post Reader" flow (1: thanks + related product links, 2: social proof + 10% code, 3: urgency + FAQ) triggered when someone clicks a blog CTA or visits a product page from a post. Pair that with organic social snippets—short pull‑quote images, 15‑second verticals, and X/Threads threads that point back to the blog—and schedule them with tools like Trafficontent’s Auto Blog Poster and Auto Scheduler so you’re not posting at 2 a.m. Also repurpose top posts into low‑cost ad creatives (6–15s UGC clips, testimonial carousels) and run micro‑campaigns with 2–5 micro‑influencers (affiliate links, one feed post + stories, and permission to reuse UGC for ads). Always mind E‑E‑A‑T for YMYL topics: cite sources and be conservative with claims when money or health are involved.
Save $2000 in ads — a quick step sequence you can actually follow:
- Identify high‑intent posts: use Shopify/GA4 behaviour and conversion data—look for posts with high time-on-page, product clicks, or existing organic conversions. Filter for posts mentioning product SKUs or “how to buy” language.
- Optimize CTAs: consolidate to one clear CTA (email sign up or product page), add UTM parameters, include a customer photo and a short benefit line. Implement the Klaviyo post‑reader drip on that CTA to capture and convert without extra ad spend.
- Retarget readers with low‑cost creatives: 7–14 day retargeting on Meta/Google using 6s UGC clips, carousel testimonials, and static promo panels. Start at $3–$10/day per audience, exclude converters, and rotate creatives weekly. Use influencer UGC for ads to cut production costs.
Do this and you’ll stop promoting like a raccoon with a flashlight. Practical, automated moves—Trafficontent’s Auto Blog Writer + Poster + SEO Optimizer PRO for publishing, Klaviyo flows for nurturing, and cheap retargeting creatives—produce repeatable revenue without burning another $2K on broad prospecting ads.
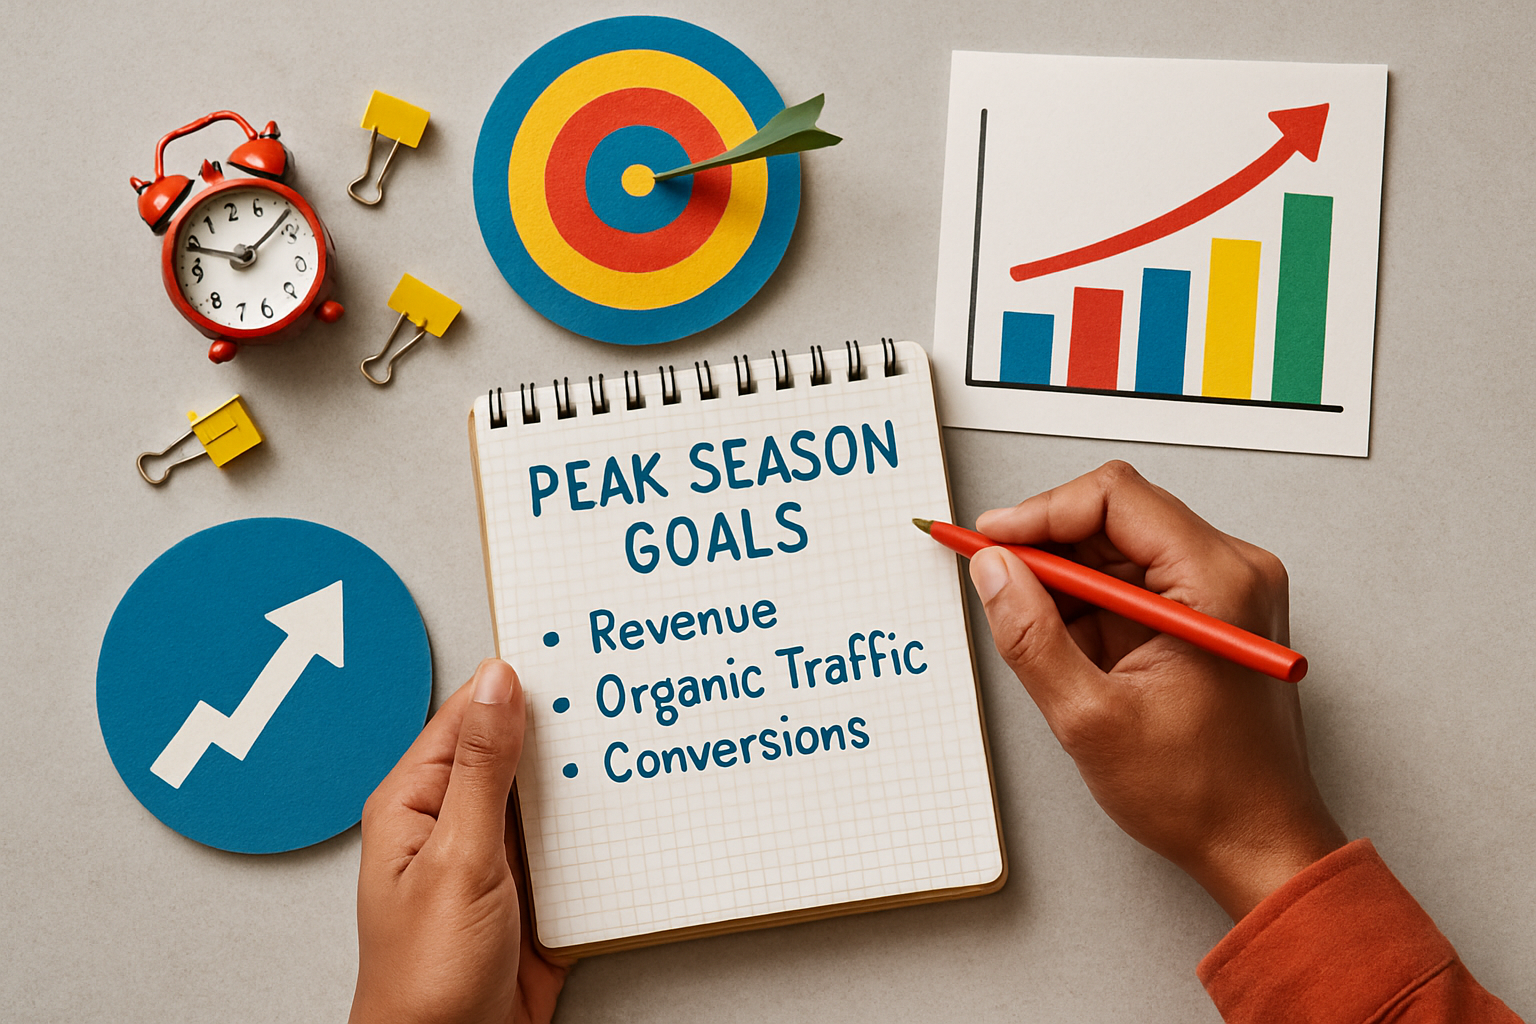
Measure, iterate, and scale: experiments that prove the blog’s ROI
Run experiments like a scientist, not a magician. Start with a tight checklist:
- Hypothesis: one clear claim — e.g., "Adding a single CTA block to product-related posts will increase add-to-cart rate by 15%."
- Sample size & timing: aim for 500–1,000 sessions per variant as a rule of thumb or run the test until you hit ~95% confidence (or two full business cycles) — don’t stop at a single Tuesday spike.
- Metrics — skip the vanity: track pageviews and time-on-page for context, but make revenue metrics primary: purchases from the post, conversion rate, and revenue-per-post (RPP) = total revenue attributed to post ÷ sessions from that post.
- Attribution: use UTMs and landing-page attribution so Shopify knows which post drove the sale.
- Tools: GA4 for event & conversion tracking, Shopify Admin > Analytics > Reports (sales by landing page / sales attributed to sessions), and Hotjar for session recordings and heatmaps to understand “why” behind the numbers.
Decide to scale only when the math is convincing: require statistical significance (p < .05) plus a meaningful business threshold (example: ≥10% conversion uplift or an RPP increase that exceeds your content and ad costs). To actually “reclaim that $2k,” calculate incremental monthly revenue from the winning post (RPP × promoted sessions). If the incremental revenue covers the $2k ad line or reduces your customer acquisition cost (CAC) by that amount, reallocate that ad spend to amplify the post — or pause underperforming ads and funnel the budget into the winners. Track everything back in GA4 and Shopify, rinse and repeat, and don’t forget to vet content for E‑E‑A‑T/YMYL concerns if you’re making health, finance, or legal claims. Think of it like promoting the Netflix thumbnail that works — but with receipts and fewer cliffhangers.